
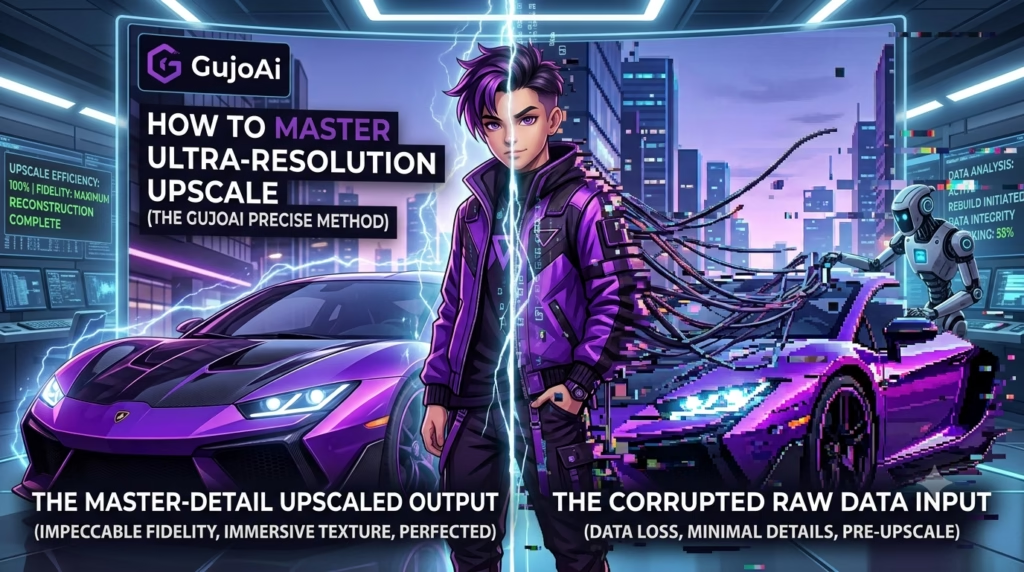
How to Upscale an Image Without Losing Quality
You can upscale an image without obvious quality loss by starting with the best available source, choosing a sensible enlargement and using an AI image upscaler that reconstructs edges and texture instead of only stretching pixels. Upscaling cannot recover every missing detail, so a clean 2× enlargement often looks more believable than forcing a tiny, damaged image to 8×.
What Does It Mean to Upscale an Image?
GujoAi includes a browser-based Image Upscaler workspace for creators preparing anime art, photos and social visuals for larger formats. This guide explains resolution in plain language, shows you how to upscale an image step by step and helps you avoid artificial faces, crunchy outlines and oversized files. You will also learn when to regenerate or reshoot an image instead of trying to repair it.
Image upscaling means increasing the pixel dimensions of a digital image so it can appear larger. A picture that measures 800 × 800 pixels contains 640,000 pixels. A 2× upscale produces dimensions of 1,600 × 1,600 pixels, which contains four times as many total pixels.
The challenge is that the original file does not contain those extra pixels. Software must estimate what should go between the existing ones.
Traditional resizing methods calculate new pixel values from nearby pixels. They can make an image larger, but fine lines may soften and blocky areas may remain visible. AI upscaling analyses larger patterns such as faces, hair, fabric, outlines and common textures. It predicts plausible high-resolution detail while increasing the dimensions.
That prediction can create a cleaner-looking result, but it is not the same as revealing hidden truth. If a tiny face has no visible eye detail, the system may invent eyelashes or an iris pattern. The result can look convincing without being historically or factually accurate.
Upscaling is useful for:
- Enlarging AI-generated art for a larger post or print
- Improving small product or portfolio images
- Preparing older digital photos for modern screens
- Creating room for a tighter crop
- Reducing visible pixelation in anime art and illustrations
- Exporting a sharper thumbnail, poster or presentation visual
It is less useful for severely blurred, overcompressed or out-of-focus files where the subject itself is unclear.
How Does an AI Image Upscaler Work?
An AI image upscaler uses a trained model to estimate how a lower-resolution image might look at a higher resolution. It identifies features and patterns, adds new pixels and may combine enlargement with noise reduction, sharpening or compression cleanup.
How is AI upscaling different from normal resizing?
Normal resizing mainly interpolates between existing pixels. Nearest-neighbour resizing copies pixels and can create hard blocks. Bilinear and bicubic methods blend nearby values to produce smoother results, but they do not understand whether an edge belongs to hair, an eye or a building.
AI-based super-resolution can use learned visual patterns to reconstruct more natural edges and textures. This is especially noticeable in illustrated line work, facial details and repeating surfaces. The model still guesses, so stronger enhancement is not always more accurate.
What can an upscaler improve?
A good result may reduce jagged edges, soften JPEG blocks, clarify outlines and create a more usable large file. It may make an anime eye cleaner or a product boundary more defined.
What can it not restore?
It cannot reliably recover text that is unreadable in the source, identify a face hidden by motion blur or recreate a detail that was cropped out. It also cannot fix poor composition, wrong lighting or a badly generated hand. Those problems require another source, regeneration or manual editing.
The ESRGAN research paper is a useful technical reference for readers who want to understand how perceptual super-resolution models can produce more realistic textures.
Which Image Should You Use for the Best Result?
The best source is the largest, least compressed version you can find. Do not upscale a screenshot if the original photo or export still exists.
Check the pixel dimensions
File size in megabytes does not tell you enough. Open the image properties and note its width and height in pixels. A heavily compressed 3 MB file can look worse than a clean 1 MB file.
Match the dimensions to the destination. A 600-pixel image may be fine inside a small webpage card but weak for a full-width banner or print. Upscale only as much as the final use requires.
Choose the cleanest generation
For AI art, select the version with correct anatomy, edges and composition before enlargement. Upscaling strengthens what is already there and can make defects more noticeable.
Avoid repeated downloads
Some messaging and social apps compress images. Sending, downloading and reposting the same JPEG several times can introduce halos, blocks and colour banding. Return to the original file whenever possible.
Crop carefully
Crop unwanted areas before upscaling if the final composition is already decided. This lets processing focus on the pixels you will keep. However, retain an uncropped master in case another format is needed later.
Understand photo and illustration differences
Photos contain fine, irregular texture. Anime images and drawings often contain clean lines and flat colour areas. A model that looks good on photography may oversoften line art, while an art-focused model may add strange texture to skin. Use the mode that matches the source when the tool offers a choice.
How Do You Upscale an Image Step by Step?
Decide where the image will appear before choosing an enlargement factor.
- Find the best source file. Use the original camera file, design export or highest-resolution AI generation available.
- Inspect it at 100% zoom. Look for motion blur, compression blocks, broken anatomy, text errors and damaged edges.
- Set the target size. Calculate the dimensions needed for the website, social platform, client file or print rather than selecting the largest option automatically.
- Open an upscaling workspace. The GujoAi Image Upscaler is intended to enlarge creator images in a browser-based workflow.
- Upload a supported file. PNG is useful for line art and transparency; high-quality JPEG or WebP can suit photos and web output.
- Choose a conservative scale. Start with 2×. Test 4× only when the source is reasonably clean or the destination genuinely needs it.
- Select the matching mode. Choose photo, art, anime or balanced enhancement if those controls exist.
- Generate the enlarged version. Allow processing to finish without repeatedly recompressing the source.
- Compare at the same display size. Check the original and result at 100% zoom, then view both at the intended final size.
- Inspect sensitive details. Review faces, eyes, hair, fingers, small text, outlines and repeating patterns.
- Export once. Save a high-quality master, then make smaller web versions from that master.
Current publishing check: Test the live Image Upscaler before publishing. If the page still presents a frontend preview or says that real API processing will be connected later, retain this note in the draft and do not tell readers that a processed file can already be downloaded.
How Do You Choose the Right Size, Scale and Format?
The best settings are driven by the destination, not by the highest number on the screen.
Use 2× as the safe first test
A 2× enlargement doubles width and height. It often provides enough room for a sharper screen display or moderate crop without forcing the model to invent too much detail. A 4× version can work for clean art or a small original, but needs closer inspection.
Separate pixels from print resolution
Pixels describe the digital dimensions. PPI describes how closely pixels are placed when printed. Changing a metadata value from 72 PPI to 300 PPI without adding pixels does not create new detail.
For a 10-inch-wide print at 300 pixels per inch, a common target is 3,000 pixels wide. Viewing distance and printer type also matter; a wall poster viewed from farther away may not need the same pixel density as a small photo held close.
Pick the output format deliberately
- PNG: Good for transparent backgrounds, line art, graphics and lossless working files
- JPEG: Efficient for photographs when exported at a suitable quality
- WebP: Useful for web delivery because it can reduce file weight while retaining good visual quality
Keep a master file in a high-quality format. Then create a compressed web copy so upscaling does not slow the site.
Do not confuse dimensions with quality
A 4,000-pixel file can still look bad if it contains invented detail, halos or heavy noise reduction. Judge the image at its final viewing size and check whether important features remain natural.
AI Upscaling vs Traditional Resizing: Which Is Better?
| Factor | AI image upscaling | Traditional resizing |
|---|---|---|
| New detail | Predicts plausible texture and edges | Calculates from neighbouring pixels |
| Speed | Processing may take longer | Usually immediate |
| Natural photos | Can improve faces and textures | Often becomes softer when enlarged |
| Pixel art | May alter intentional blocks | Nearest-neighbour can preserve hard pixels |
| Accuracy | Can invent incorrect detail | Does not invent semantic detail in the same way |
| Best use | Photos, anime art and compressed creator images | Small size changes, exact pixel art and predictable resizing |
Use AI when visible pixelation or soft edges are the problem and the source contains enough structure to guide reconstruction. Use bicubic or similar traditional resizing for modest changes where predictability matters.
For pixel art, nearest-neighbour enlargement is often the correct choice because smooth or generative methods can destroy the block structure. For logos, find the vector SVG, EPS or original design file instead of upscaling a tiny raster screenshot.
The strongest workflow can combine methods: clean obvious defects, use a careful AI enlargement, then apply light manual sharpening and export at the exact target dimensions.
What Problems Can Appear After Upscaling?
Oversharpening can create bright or dark halos around edges. Heavy noise reduction can make skin look like plastic. Art-focused models may add texture to flat anime shading, while photo models may soften ink lines.
Watch for these problems:
- Invented eyelashes, teeth or jewellery
- Wavy building lines or repeated textures
- Altered facial identity
- Crunchy outlines around hair and clothing
- Fake lettering where small text was unclear
- Colour shifts or banding in gradients
- Excessively smooth skin and missing natural texture
- Very large files that slow a webpage
If the result looks artificial, reduce the scale or enhancement strength. Try another model only if it matches the content type. Never hide a factual problem by adding more sharpening.
For web use, compress the final copy and provide width and height attributes in the page code. Use descriptive alt text based on the image’s purpose rather than mentioning “upscaled” unless that fact helps the reader.
For client or archive work, keep the original alongside the enhanced version. Label the new file so no one mistakes reconstructed detail for an untouched source. This is especially important for evidence, historical photographs, medical imagery and identity-sensitive material.
Frequently Asked Questions
Can I upscale an image without losing quality?
You can enlarge a good source while keeping the visible result clean, especially with a conservative AI upscale. No method can perfectly restore detail that was never captured, so inspect the output for invented texture and altered features.
What is the best AI image upscaling size?
Start with 2× because it provides a useful increase without demanding extreme reconstruction. Use 4× only when the source is clean and the final website, crop or print actually needs the additional pixels.
Does increasing PPI improve image quality?
Changing the PPI number alone does not add pixels or visual detail. Print quality depends on the image’s pixel dimensions, physical print size, viewing distance and output process.
Can an AI upscaler fix a blurry photo?
It may improve mild softness and visible edges, but it cannot reliably restore a subject lost to strong motion blur or missed focus. Use the original, another photo or a reshoot when identity and detail must be accurate.
Is there a free AI image upscaler?
Some tools offer limited free processing or welcome credits rather than unlimited upscaling. Check the scale options, output resolution, watermark policy and privacy terms before uploading an important image.
Ready to create something remarkable?
To upscale an image without losing visible quality, start with the cleanest source, enlarge only as much as the destination requires and inspect the result for invented details. AI upscaling is a finishing tool, not a replacement for a correct original. Create a free GujoAi account for 10 welcome credits and test the Image Upscaler after live processing has been enabled and verified.